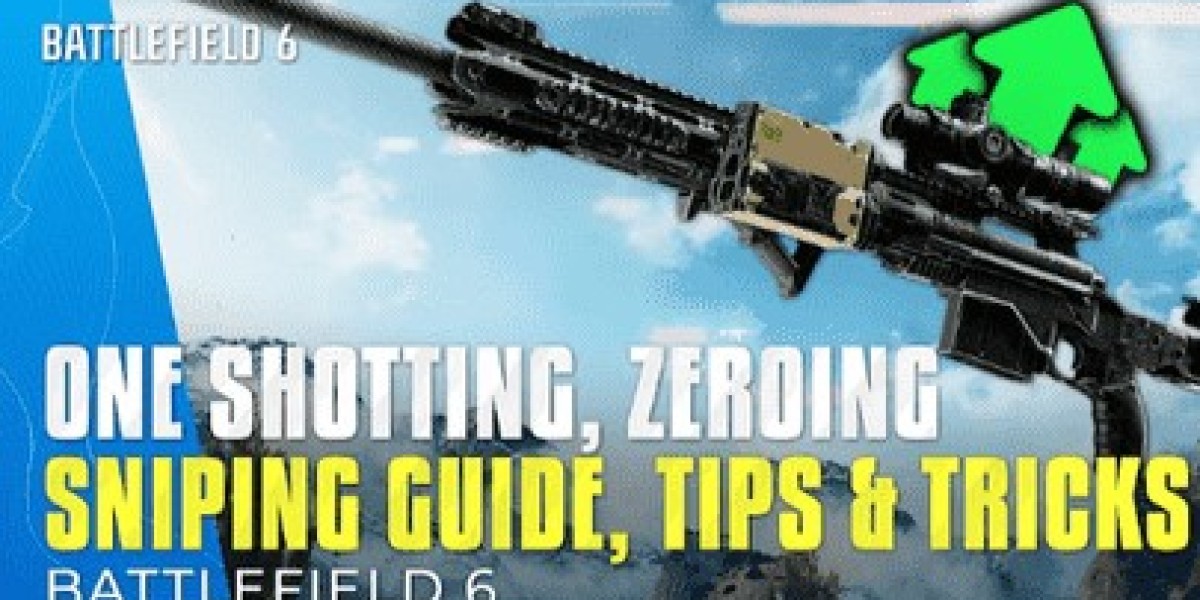
Even the most skilled sniper will struggle with a poorly optimized weapon. In Battlefield 6 services , attachments are often limited by a points budget, which means you’ll need to make trade-offs. This post walks through recommended sniper/DMR builds, how to balance mobility, stealth, damage, and speed, and how to adapt loadouts per map or engagement range.
The Attachment Slots & Philosophy
In Battlefield 6, your sniper rifle or DMR typically has multiple attachment slots (scope, bolt, muzzle, barrel, grip, magazine, underbarrel/utility). Each attachment costs a certain number of “points,” and you often have a capped budget (e.g. 100 points) for customization.
Your choices should revolve around three core axes:
Precision / damage / range — e.g. stronger barrel, bolt, high-velocity options.
Stealth & concealment — suppressors, reduced glint, stealth perks.
Speed / handling / ADS performance — grips, rechamber speed, ADS speed, reduced sway.
You can’t max all three, so pick based on playstyle and map dimension (open vs. compact, vertical vs. horizontal).
Recommended Attachments & Builds
Below is a strong “default” build idea, plus alternatives.
Default / Balanced Sniper Build
| Slot | Attachment | Benefits | Notes |
|---|---|---|---|
| Scope | 6× (or 5× for mixed-engagement) | Good long-range clarity | On maps with mixed range, 5× may be more versatile |
| Bolt / Rechamber | DLC Bolt (Rechambering Bolt) | Keeps you scoped while rechambering, faster follow-ups | Very high utility |
| Muzzle | CQB Suppressor | Reduces minimap reveal and muzzle flash / glint | Essential for stealth kills |
| Barrel | 26″ Carbon Barrel (long/high-velocity barrel) | Increases bullet velocity, reduces drop | Better for long shots |
| Grip | Angled Grip / Steady Grip | Faster ADS, reduced sway | Helps in aggressive play |
| Magazine | Extended / High-Capacity | More bullets between reloads | Useful for multi-target fights |
| Underbarrel / Utility | Range Finder | Auto-zeroing based on distance | Very useful for eliminating guesswork |
This build leans toward precision + stealth, while maintaining necessary handling.
Aggressive / Fast-Paced Sniper Build
For faster, more reactive play (close‑to‑mid engagements), you might sacrifice some stealth or long-range optimizations:
Use a lighter barrel (to improve ADS speed) instead of longest/highest velocity
Swap suppressor for flash hider (if you expect shorter duels)
Use a faster grip or handling boost
Minimize heavy attachments so you can better reposition
Loadout Synergies & Field Specs / Perks
Sniping is tied heavily with the Recon class. Use the class perks and field upgrades that complement your rifle build:
Auto‑spotting while ADS helps your team by tagging enemies you aim at.
Unrevivable headshots: make headshot kills unrecoverable—great for objective denial.
UAV / recon tools: help your team maintain vision while you stay back and cover lanes.
Special ammo (Tungsten Core, etc.) helps with penetration.
Always adjust your build based on your team’s needs and map constraints.
Map & Mode Adaptations
Small / close‑quarters maps
Use lower magnification scopes (5× or even 4×) to handle medium-range fights
Keep zero closer (100–200 m)
Favor mobility and stealth (lighter attachments)
Conquest, large maps, open fields
Use 6× or higher scopes
Equip Range Finder
Prioritize velocity / barrel attachments
Use long zero ranges (300–500 m)
Vertical / urban maps
Use intermediate magnification
Balance between vertical viewing angles and horizontal lines
Use positions with good cover, not just height
Tips for Modifying & Testing Loadouts
Always test your build in firing ranges. See how velocity, drop, and recoil change.
Swap one attachment at a time (e.g. change barrel) to notice its impact.
Watch kill cams to see how bullets behave (penetration, deviation).
Adapt mid-match: if a build isn’t working, switch to a more utility-focused setup.
Review stats: which targets are you missing (moving, mid-range, headshot)? Adjust accordingly.
Closing Thoughts
The Battlefield 6 boosting service right sniper build makes the difference between “lucky hit” and consistent dominance. Focus attachments on what your playstyle and map demand: control, stealth, or speed. Combine that with proper mechanics (zeroing, sweet spot targeting) and you’ll maximize your kill potential.


