Accurate microscopy begins with correct calibration. A stage micrometer is a simple yet powerful tool that helps scientists, researchers, and students achieve measurement precision.
If you’re working with Laboratory Microscopes in India, here’s a practical guide to using a Stage Micrometer effectively.
Step 1: Clean the Microscope and Slide
Before calibration, ensure that the lenses and micrometer slide are clean. Dust particles can distort measurements.
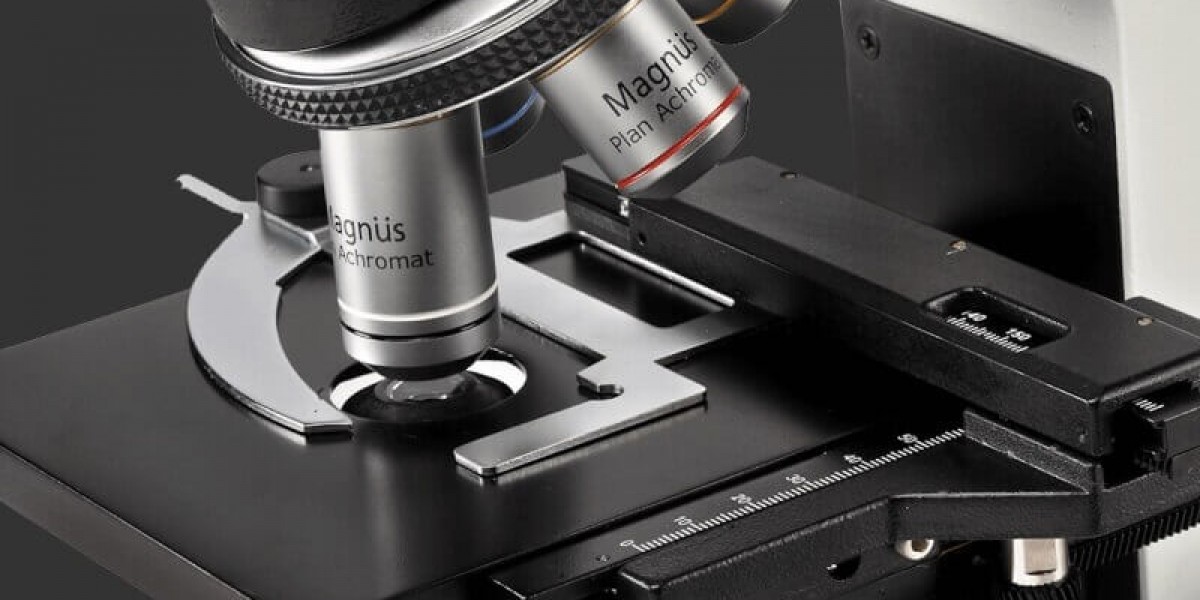
Step 2: Place the Stage Micrometer on the Stage
Position the micrometer slide securely and focus using the lowest objective lens first.
Step 3: Align the Scales
Look through the eyepiece and align the zero mark of the eyepiece graticule with the zero mark of the stage micrometer.
Step 4: Count the Divisions
Find another point where the scales align. Count how many eyepiece divisions match a specific number of micrometer divisions.
Step 5: Calculate the Value
Use the formula:
Value of one eyepiece division =
(Actual micrometer distance) ÷ (Number of eyepiece divisions)
Repeat this process for each objective lens.
Step 6: Record and Label
Document calibration values clearly. This avoids recalculating every time you switch magnifications.
Pro Tips
Always recalibrate when changing objective lenses
Store the micrometer slide carefully
Recalibrate periodically for consistent accuracy
With regular practice, using a stage micrometer becomes quick and effortless, ensuring professional-level precision in every observation.